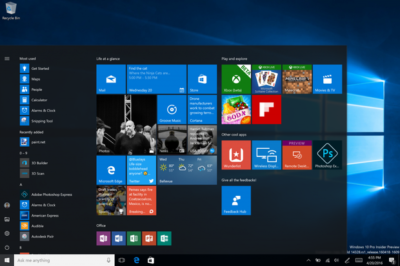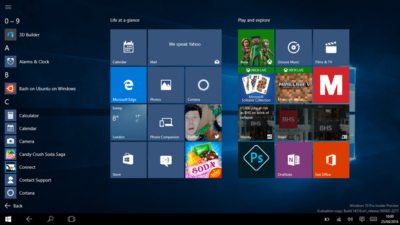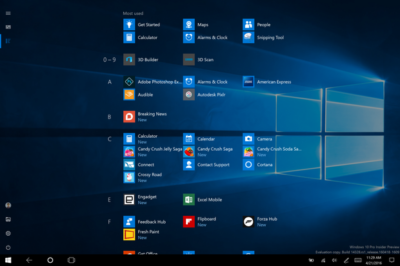
Microsoft continues to build out Windows 10 – with a bumper crop of new features announced at its Build conference last week.
These enhancements will be pushed to to Windows 10 users over the coming months, with many arriving in summer when the OS will get a major upgrade dubbed the Windows 10 Anniversary Edition.
Here are the key upgrades heading to Windows 10.
The write stuff
Using a digital pen to write and scribble on the screen of Windows 10 PCs and tablets will get easier.
In a boost to devices that support such pens, such as the Microsoft’s Surface tablet, the OS’ new Windows Ink feature will allow users to jot down notes on the screen without unlocking the device.
Windows Ink will also allow users to write messages on sticky notes and, if appropriate, have them automatically translated into calendar appointments and reminders.
Support for Windows Ink in Microsoft Office, Maps, the Edge browser and other apps will allow users to draw, write and annotate using their pen. Windows Ink will make using the pen in Office more satisfying than it currently is, for example tidying up highlighted marks on documents so they neatly align with text.
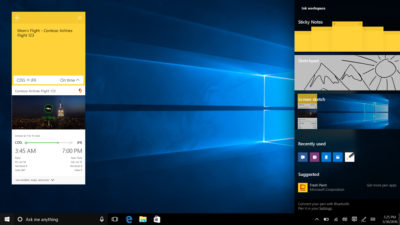
Windows 10 will also gain the Ink Workspace, a hub for launching apps that support writing and sketching using the Surface Pen.
Ink everywhere
Support for drawing, writing and annotating using digital pens will likely come to many apps.
Microsoft says that support for Microsoft Ink will be easily added to Universal Windows Platform apps, requiring just two lines of XAML code.
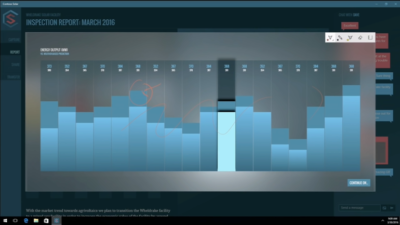
Digital ruler
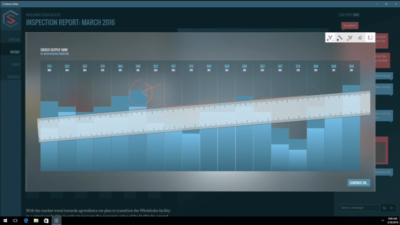
It sounds simple, but the new on-screen ruler should prove to be a useful addition for those who want to draw straight lines using a digital pen.
Smarter Cortana
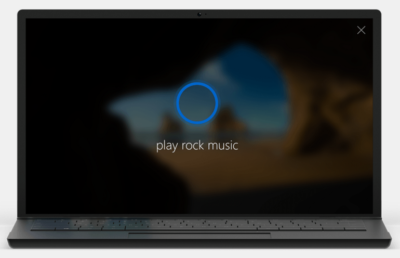
The attraction of a virtual assistant is the simplicity with which they allow you to carry out tasks.
To ease the process of using Windows 10’s Cortana, the voice-controlled assistant will no longer require you to log into Windows, with users able to make a note, play music or set a reminder from the lock screen.
Cortana will also become more proactive and make suggestions based on a user’s past behaviour – offering to order lunch or to arrange transportation.
More apps will also be able to use Cortana to automatically complete tasks for users or to carry out actions based on context, such as the user’s current location or time of day.
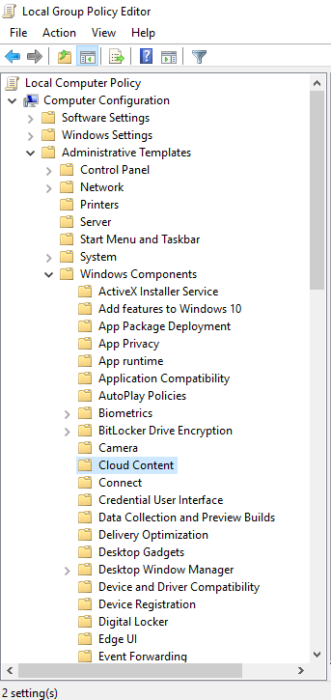
Windows Hello comes to apps and the web
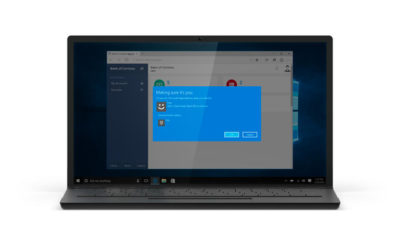
Windows 10 already lets you log into the OS using your face.
The anniversary edition will extend this biometric log-in to Windows apps and websites via Microsoft Edge. As with the OS, users will be able to authenticate their identity using a facial, iris or fingerprint scan.
Another new feature will allow users to unlock a PC running Windows 10 Enterprise Edition by tapping a Windows Hello-enabled phone, although Microsoft has said the feature will only be available on “select premium phones”.
Android app notifications on Windows 10
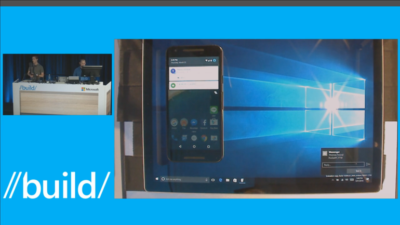
In future, notifications on Android devices will be able to show on Windows 10 PCs.
Any notification popping up on the Android notification panel can, via the Cortana Android app, also appear as a notification on a linked Windows 10 desktop.
Microsoft demoed the ability at its recent Build conference for developers.
Browser extensions
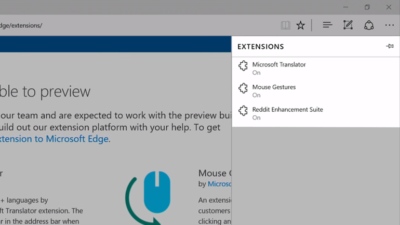
Microsoft’s Edge browser will soon gain support for extensions.
Extensions are small programs that can be downloaded to add new functionality to a browser, and are already found in Chrome, Firefox and other browsers today.
Support for extensions has already been added to Edge for those testing pre-release builds of Windows 10 under the Insider program.
The first extensions to be supported by Edge are Microsoft Translator, an extension that automatically translates pages in over 50 different languages, an extension to augment mouse gestures support, and a preview version of the Reddit Enhancement Suite.
Microsoft promises more extensions will be added later this year, including AdBlock, LastPass and Evernote.
Pinned browser tabs
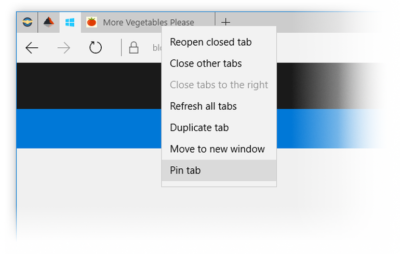
Microsoft is also adding to Edge the ability to pin your favorite sites and web apps so they always have a tab open in the browser.
Updated Maps app
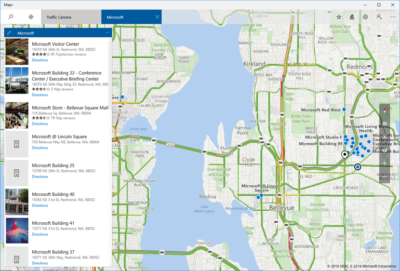
The Maps app has several new features, as well as UI and performance improvements.
Additions include one-tap access to search and directions, the ability to view multiple searches and directions at the same time, labels for search results on the map and turn-by-turn directions read by Cortana.
The improved app is available now to those testing Windows 10 under the Insider program.
Access Linux command-line tools in Windows
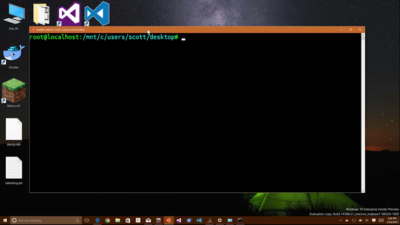
More one for developers, Microsoft is also bringing the ability to run the Bash shell to Windows.
The Bash shell is a command line interpreter that is available on many different Linux distributions, as well as Mac OS X.
The shell includes a host of tools that allow power users to carry out and orchestrate complex chains of commands.
Bash will be available via a Universal Windows Platform app, which will provide an image of the Linux distribution Ubuntu and run on the Windows 10 desktop.
Users will be able to use the Bash shell to download and install programs from the command line, as they do from inside Ubuntu. Microsoft says Ubuntu software will run as fast in the Windows app as it does natively, thanks to a software subsystem for handling Linux system calls.
Microsoft has described the app as offering a developer toolset. While it has access to the files on the Windows PC, the app only provides access to a command line — not a graphical desktop — and reportedly has limits on what it can be used for, such as not being able to run a server.
Have questions?
Get answers from Microsofts Cloud Solutions Partner!
Call us at: 856-745-9990 or visit: https://southjerseytechies.net/
South Jersey Techies, LL C is a full Managed Web and Technology Services Company providing IT Services, Website Design Services, Server Support, Network Consulting, Internet Phones, Cloud Solutions Provider and much more. Contact for More Information.
To read this article in its entirety click here.