With the introduction of Windows 7, many PC and notebook users may feel more secure than they did using older versions of the Microsoft operating system. Newer OSs have more security features, offer better out-of-the-box security settings and have closed many of the historical security holes. Windows 7, for example, has changed the default User Account Control level so that it’s harder for rogue programs to run without first explicitly gaining the user’s permission.
[Also read 3 steps to protect your personal data]
However, feeling too secure can be dangerous. With that in mind, here are 10 tips–commandments, if you will–for ensuring your desktop or notebook computer can be used productively as well as safely. Many of the recommended tools are free, and all are affordable–and certainly less expensive than the potential problems of an unsecured computer. Similarly, many will take you only a minute or two to perform–again, far less time than you’d spend recovering from a security problem.
Yes, Windows 8 is on the way; it’ll be many years before that version runs on a majority of the installed base. So these tips are focused at the computers you are actually using today–especially Windows 7 computers, though most of the advice also applies to Windows Vista or XP machines.
1st commandment: Start with new hardware
Today’s new hardware–motherboards, BIOS, CPUs, hard drives, and the system as a whole–includes more security “baked in,” even before the operating system is installed. Examples include Trusted Platform Modules (TPM), which embed cryptographic security directly into the hard drive or other component, Unified Extensible Hardware Interface (UEFI) firmware instead of the traditional BIOS, and Intel’s vPro security and management technologies. For example, machines with UEFI and TPM will, as part of each boot-up, check the computer’s firmware and boot-up binaries to confirm they have not been infected with malware.
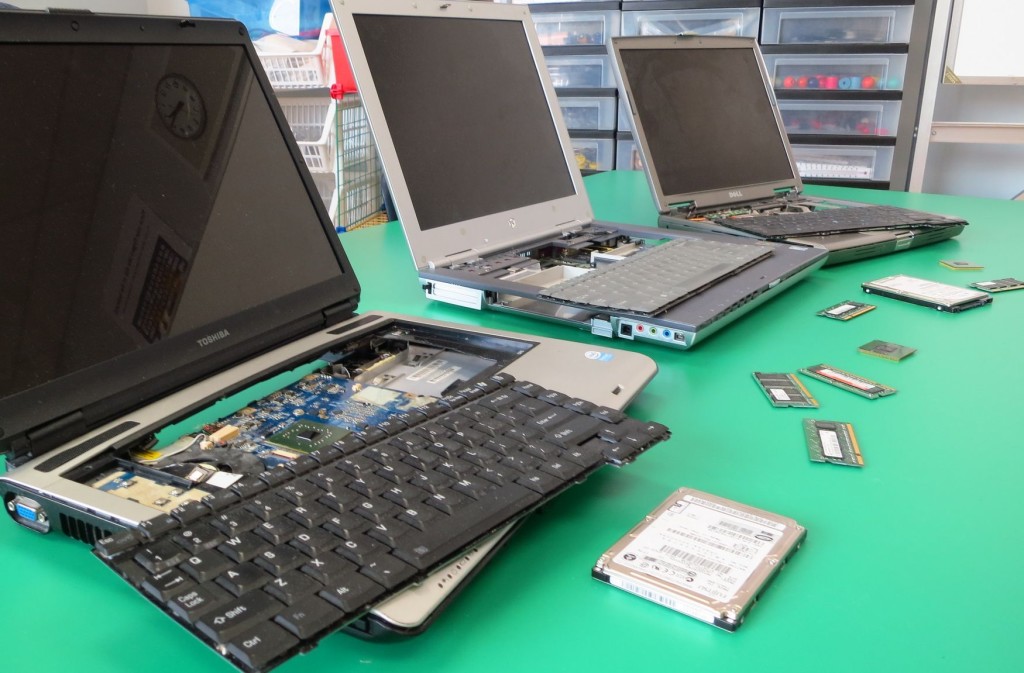
If you are working with an existing machine, consider doing a fresh install of the operating system, after completing one (or several) full backup. Ideally, the operating system would be the newest version rather than what was previously installed. (Products like LapLink’s PC-Mover can reduce the effort of saving and migrating settings and even application software–although applications should be freshly installed if possible, as well.)
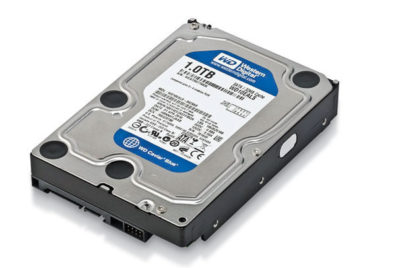
Even if you’re working with an existing machine, consider swapping in new hard drives that include built-in encryption. Drives that support the OPAL Storage Specification standard enable companies to manage encrypted drives from multiple vendors–and have also helped reduce the extra cost for an encrypted drive from $100 to nearly zero. After-market drives often include migration tools to speed and simplify a drive swap.
If a self-encrypted drive isn’t an option, look at using full-disk encryption software, such as Windows’ BitLocker (available only on Enterprise or Ultimate Windows Vista, 7 or 8 ) or a third-party tool.
2nd commandment: Use current OS versions and automatically get OS and application updates
If you aren’t using the most current commercial version of the operating system, it’s time to upgrade. Additionally, make sure you set the software to automatically apply updates (not just the OS, but all applications) and periodically turn off the computer, which is when many updates are auto-applied. An appalling number of security breaches occur because applications lack important security fixes that have been available for a year or more.
The computer vendor may also include helpful update tools. For example, Lenovo includes an update process that is designed to show all BIOS and driver updates available for that particular model. You can also manually start the update-check apps process. This may take several cycles, particularly for the first time around, if some updates require other updates.
“Third-party software is usually the vector that security intrusions come through, not the operating system,” says Ed Bott, a Windows expert and ZDNet blogger. Flash, Adobe Reader and Java are three of the biggest targets, Bott says. While many programs include their own automatic update checker, Bott urges using a tool like Ninite orSecunia Personal Software Inspector, which automate update checking for all the applications on your computer.
3rd commandment: Use Windows’ new security tools (and/or third party software)
Windows 7 includes a number of security controls and tools through its Actions Center (which replaces the Security Center), and other tools are available via the Control Panel, including:
- Windows Firewall: With its basic settings, this wards off basic attacks, and you can use its advanced settings for more specific control. There are also third-party firewall programs available.
- Microsoft’s Microsoft Security Essentials and Windows Defender. These tools secure your computer against viruses, spyware
and other malware.
Obviously another option is to invest in third-party security software, like individual anti-virus, anti-spam and other programs, or a security suite, such as Symantec’s.
4th commandment: Set up (or remove) user accounts
Historically in Windows, the default account had administrator privileges–meaning that programs capable of taking unwanted insecure actions wouldn’t have to first ask the user if they could run. Starting with Vista, Microsoft added User Account Control (UAC), which asked non-administrator users for permission to run certain programs or actions. With Windows 7, UAC still protects systems but less intrusively.
Even so, managing which user accounts are–and aren’t–available contributes to security in the following ways:
- Establishes non-administrative user account(s) for each user.
- Disables or removes user accounts that aren’t used or shouldn’t be there.
- Disables the “guest” account, unless it’s needed. If it is needed, a password should be required for elevating privileges, to prevent unauthorized changes to the system.
Consider renaming the administrator account so that it’s not obvious to an intruder. Since this account can’t be “locked out,” password attacks can be performed indefinitely; changing the name makes the account less of a target.
5th commandment: Set passwords
Set the main Windows password, as well as the Power/Time to lock the system, with a screen saver, and require a password to resume activity.
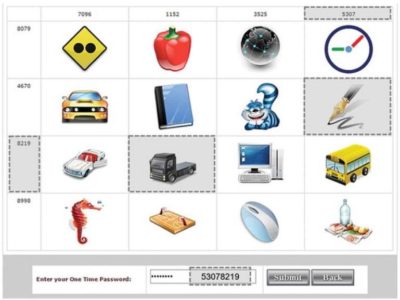
Also, depending on the sensitivity of information on your system (did someone say “online banking”?), consider password alternatives, such as:
- Smartcard reader (contact or contactless)
- Biometric facial recognition
- RSA software and external token
- Password “gesture” (e.g., Android tablets)
Another option is two-factor authentication, such as requiring both a fingerprint and a password.
6th commandment: Add/activate anti-theft tools
Invest in, install and activate anti-theft tools that can either lock the system; conduct an IP trace; report, take and send pictures; and even wipe the computer when a lost or stolen computer reconnects to the Internet. An example is Absolute Software’s Lojack for Laptops.
Vendors like Lenovo are embedding Absolute’s CompuTrace Agent into the BIOS, so even if somebody erases or replaces the hard drive, the agent is automatically re-installed.
Computers that include Intel Anti-Theft technology in their hardware let you add additional security services, such as automatically locking the main board until it receives the “unlock” password, lock or wipe if a machine goes too long without connecting to the Internet or if a user fails the login process too many times. Intel Anti-Theft is typically part of third-party security products like CompuTrace, adding perhaps $3/year, and as the anti-theft option on WinMagic’s full disk encryption product.
7th commandment: Turn off sharing and other unneeded services
Windows allows you to share resources that are on your computer, like file-sharing (Shared Folders) and print sharing. Your computer’s Internet connection management utility (Windows includes one, but many systems have their own) lets you define each network as either Public, Home or Work. If you mis-set a connection, your Shared Folders will be visible to other computers on the network.
Suggested Desktop Security Reading
- Windows 7: Explore New and Improved Security Features (Microsoft)
- Security checklist for Windows 7 (Microsoft)
- “Enhancing Endpoint Security for Windows Desktops,” Derek Melber, President and CTO of BrainCore.Net
- Best Practices: Windows Desktop, IT Security for the University of Missouri
If you are behind a firewall, when your computer’s Internet connection manager tool asks you what kind of location/connect it is, you can call it either a Home or Work network, Bott says. But specify Public network if you are connecting directly to the Internet (e.g., at home or in the office), if you don’t have a hardware router but instead are directly connected to the cable modem, or if you are connecting to a public network like a Wi-Fi hotspot or a hotel or conference Ethernet. This will ensure that no local sharing is allowed.
In general, disable any services and remove programs you don’t need. For example, if you’re sure your applications won’t need it, you may want to uninstall Java. If your machine has Internet Information Services (IIS) running but doesn’t need it, disable that, as well.
8th commandment: Secure your Web browser and other applications
Web browsers access Web sites that neither you nor your company control (and these sites, in turn, may have ads or link to other content that they don’t control). Any of these may try to inject malware onto your computer.
[Also read 10 ways to secure browsing in the enterprise]
Today’s browsers include more security, like “private browsing” session modes that prevent any personal information from being stored, or don’t save cookies or history for a session. However, this may interfere with productivity.
Check each browser’s security options and select the ones that look useful, like Firefox’s “Warn me when sites try to install add-ons” and “Block reported attack sites.”
Set Microsoft Internet Explorer to have the highest security setting you can tolerate (since higher security often means you have to click more often), suggests Tom Henderson, Managing Director of ExtremeLabs.com, an Indianapolis, Indiana technology testing lab.
Additionally, look for browser “extensions” and add-ons that increase your browser’s security, in a more per-tab, per-site or per-tab-session way. For example, the popular NoScript Firefox add-on allows JavaScript, Java, Flash and other plug-ins to be executed only by trusted Web sites of your choice.
PDF readers may also be vulnerable to JavaScript attacks within the documents they’re rendering. Make sure your PDF reader is secure; consider disabling JavaScript within it.
9th commandment: Rope in Autorun
AutoRun is a major threat vector for viruses and other malware in Windows XP and Windows Vista. [Editor’s note: Simson Garfinkel called Autorun an “OS design flaw” all the way back in 2006.] With this function, the operating systems automatically begins executing a program when it sees an autorun.inf file in the root directory of a new drive, such as a network drive, a CD or a flash drive. So, if you haven’t yet moved to Windows 7, make sure you’ve got all the security updates for the OS version you are running. (See MS Security Advisory: Update for Windows Autorun.
With Windows 7, all the security settings are “No Autorun.” When you attach external media like CDs, DVDs, SD cards and USB flash drives, they will give you a dialog box offering to run a program, but by default, nothing happens automatically.
10th commandment: Consider application whitelisting and other controls “Whitelisting” refers to a list of everything you allow on your computer, including e-mail addresses your mail program can accept, Web sites your browser is allowed to connect to and applications the operating system is allowed to run. Whitelisting may not be a match for e-mail or Web browsing, but for preventing unwanted applications from running–such as malware or zero-day attacks–it may be a good additional tool.
Windows 7 includes AppLocker, a whitelisting utility, or you can buy third-party white-listing products for either individual computers or groups of networked computers. For home users, Windows 7 has fairly robust parental controls that can restrict access by time-of-day or by site, and log Web access, Bott says.
Conclusion: It’s easy to become more secure
As you can see, there is a lot you can do affordably, even to existing Windows systems, to increase their security. It shouldn’t take a lot of time or money to do; however, it may take a lot of both if you don’t do anything and something avoidable goes wrong.
To View Entire Article Click Here