Summary
Details
For the purposes of this article, We are using a Windows 7 license to perform clean install using Windows 10.
Please note: The copy of Windows 10 you download must correspond with the edition of Windows you are licensed for:
- Windows 7 Starter, Home Basic, Home Premium, Windows 8.0 Core, Windows 8.1 Core must use a Windows 10 Home ISO
- Windows 7 Professional, Windows 7 Ultimate, Windows 8.0 Pro, Windows 8.1 Pro must use a Windows 10 Pro ISO
- If you are using Windows 7 Enterprise, Windows 8.0 Enterprise, Windows 8.1 Enterprise editions you won’t be able to use the free upgrade offer.
Review complete instructions how to download the Windows 10 ISO in the following article:
How to download official Windows 10 ISO files
Review instructions here how to start a clean install if you desire, if you want to perform an upgrade, clickhere.
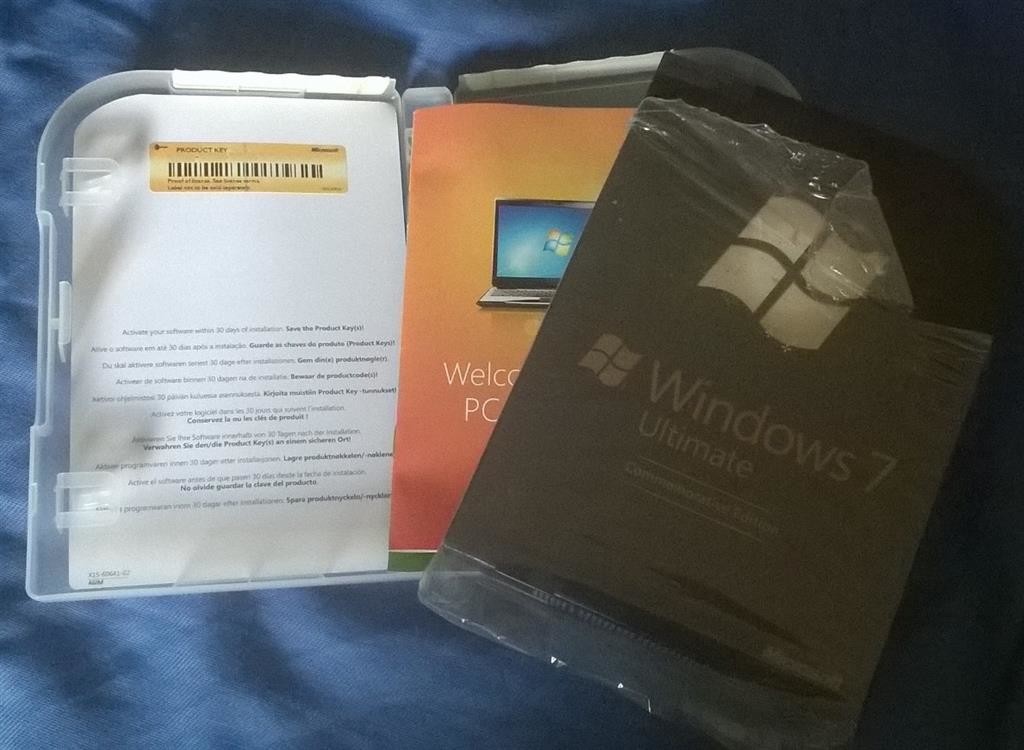
Have your Windows 7 or 8/8.1 product key ready. If you purchased a retail license, you can find the product key within the product box. The Windows 7 product key is normally found on an orange sticker attached to a pamphlet inside the box. The Windows 8/8.1 product key is found on a small business size card. See examples below. Please note, you can also use your OEM product key too if Windows came preinstalled on your computer.
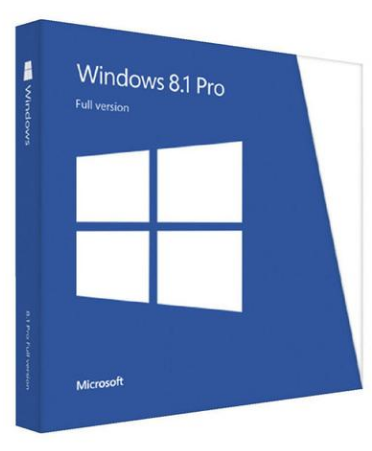
Retail:
Windows 8/8.1

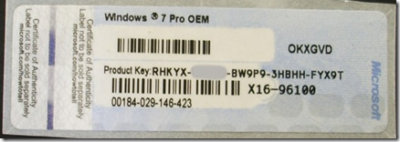
If your computer came preinstalled with an OEM version of Windows 7, look for the Certificate of Authenticity sticker attached to the chassis of your computer. Normally this can be at the side or top of the system unit. For laptops, look at the bottom of the chassis or inside the battery or memory compartment. It looks like the following:
If you are running an OEM preinstalled Windows 8/8.1 license, Windows 10 setup should automatically detect the product key and install it automatically.
With Windows 8, Microsoft had changed from stickers that have the product key that the user has to type in when installing the operating system to new BIOS embedded product keys. The idea is that by eliminating the sticker, you eliminate one of the easier ways for nefarious users to get a legitimate product key. Eliminating the product key sticker also removes any worry that the sticker might get damaged while at the same time eliminating the long and irritating process of typing in various letters and numbers when installing the operating system.
If the user has to reinstall the operating system on a machine that came with Windows 8, the installation process automatically grabs the software product key from the motherboard BIOS with no input from the user. This means that those familiar Windows product key stickers will no longer appear on the Windows 8 computers.
If you have lost your Windows product key, Microsoft recommends you purchase a new one.
You might be lucky by contacting Microsoft Support who might be sympathetic to your situation:
http://support2.microsoft.com/kb/326246/en-us
Contact the Microsoft store:
US: http://www.store.microsoft.com/Help/Contact-Us
1-877-696-77861-877-696-7786 FREE
Canada: https://www.microsoftstore.ca/shop/en-CA/Contact-Us
Microsoft Support Contact Information:
http://support.microsoft.com/contactus/?ws=support
General Microsoft contact site: http://support.microsoft.com/contactus#tab0
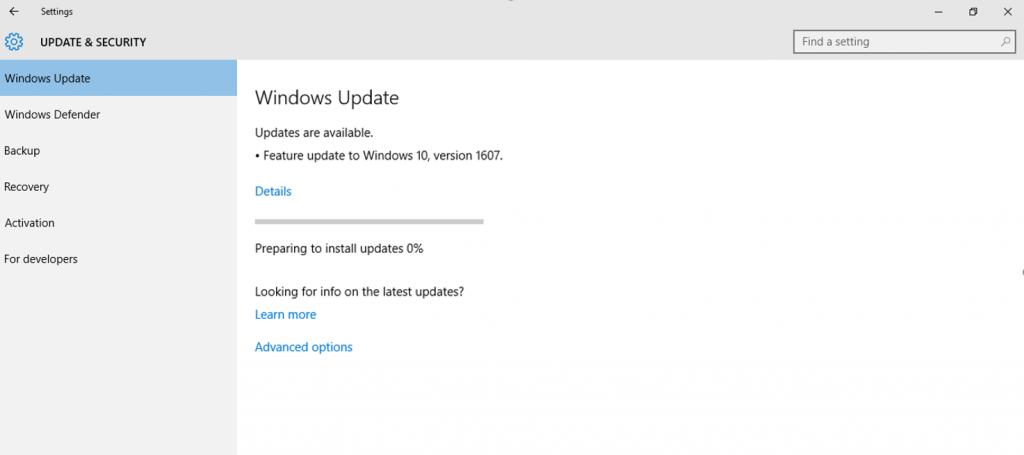
If you are prompted to enter a product key during Windows 10 setup (November Update aka 1511) from within a running version of Windows, your Windows 7 or Windows 8/8.1 product key will not work. Instead, you should activate your Windows 7 or Windows 8/8.1 first, then re-run Windows 10 setup. You will not be prompted to enter a product key.
During Setup: If you are prompted to enter a product key when you boot from the Windows 10 setup installation media, click the option ‘I don’t have a product key’. Select the appropriate edition you are licensed for.
Windows 7 Starter, Home Basic, Home Premium, Windows 8.0 Core, Windows 8.1 Core will install Windows 10 Home ISO
- Windows 7 Professional, Windows 7 Ultimate, Windows 8.0 Pro, Windows 8.1 Pro will installWindows 10 Pro ISO
- Out of Box Experience, if you are prompted for a product key, Click Do this Later.Complete the installationReview instructions how to activateHow to troubleshoot Product Activation in Windows 10
 Suppose you decide to reinstall Windows 7 or Windows 8?You can reinstall or restore a system image of your previous version of Windows and continue using it, this will not affect the validity of the license.If you continue to experience problems entering your product key:
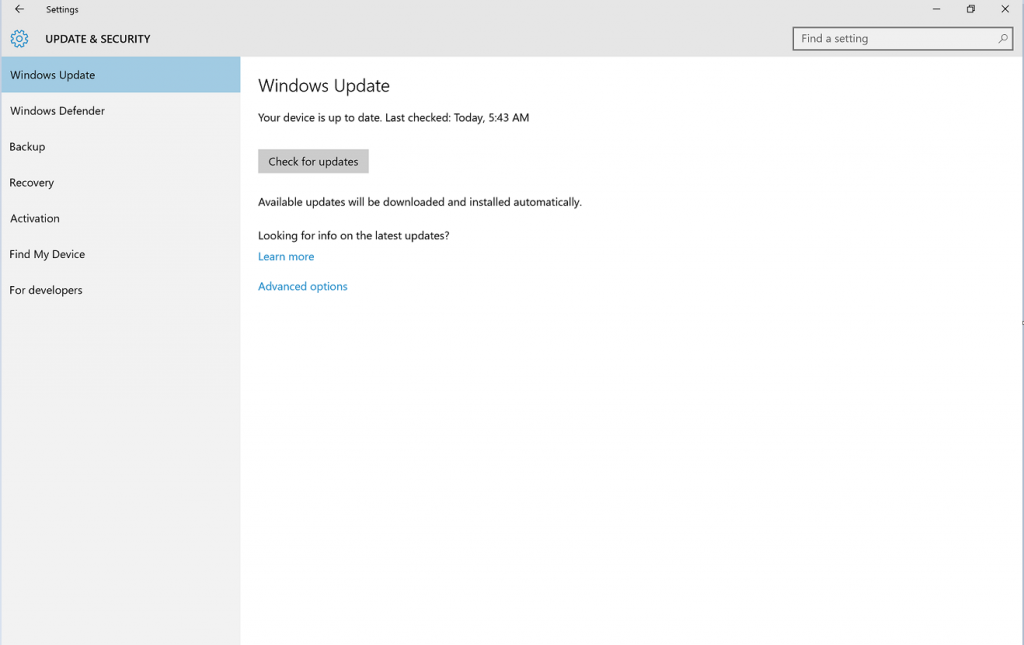
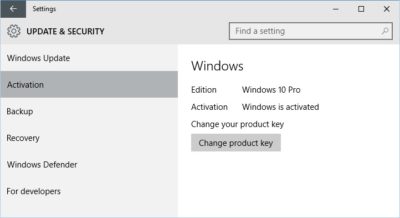
Click Start > Settings (press Windows key + i) > Update & security > Activation then click Change product key
OR
Press Windows key + X
Click Command Prompt (Admin)
At the command prompt, type the following commands:
slmgr.vbs -ipk xxxx-xxxx-xxxx-xxxx (allows you to replace the current product key with the specified)
xxxx-xxxx-xxxx-xxxx – represents your product key
Hit Enter on your keyboard
Exit the command prompt
Restart your computer
Wait a while and it should activate, if not, give it a few days.
Have questions?
Get answers from Microsofts Cloud Solutions Partner!
Call us at: 856-745-9990 or visit: https://southjerseytechies.net/
South Jersey Techies, LL C is a full Managed Web and Technology Services Company providing IT Services, Website Design Services, Server Support, Network Consulting, Internet Phones, Cloud Solutions Provider and much more. Contact for More Information.
To read this article in its entirety click here.