Whether you’re just starting high school or about to graduate college, our list of essential gear for students will ensure that you have a productive—and fun—school year.

With classes back in session (or about to begin), hopefully you already have everything from your back-to-school list. Laptop? Check. The perfect bag for said laptop? Check. Schedule and text books? Check and check. Though your laptop and books are, of course, your school lifeline, there are some other gadgets you can add to your list to make your life easier. From practical picks (mice, keyboards, hard drives) to streaming sticks (hey, it’s all about that work/life balance!), our gear guide is full of recommendations designed to aid you in all the demands of student life.
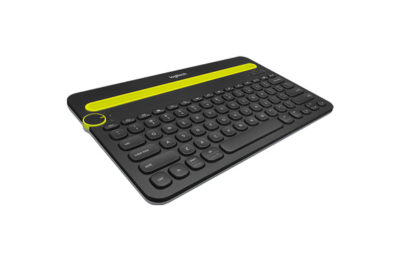
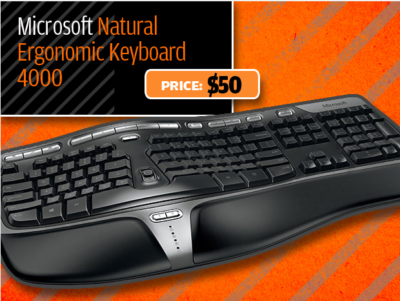
Your standard laptop keyboard is fine, but a wireless Bluetooth keyboard that you can sync with your mobile devices might be more comfortable for serious study work.Logitech’s K480 ($50 MSRP, $30 on Amazon) can be connected to three devices at once on any platform—Mac, PC, iOS, or Android—with familiar shortcut keys for all. It also has a handy groove at the top to prop up your phone or tablet.
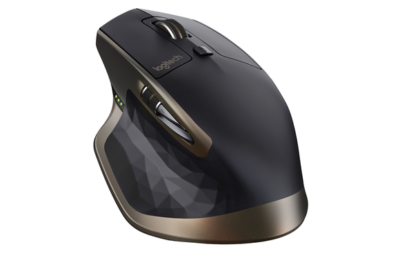
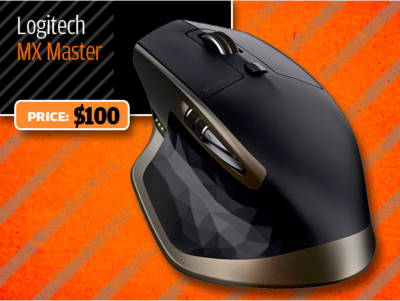
Your laptop’s trackpad, however, is not going to cut it for extended use—you’ll be much more comfortable with a mouse. The MX Master ($100 MSRP, $70 on Amazon), also by Logitech, has customizable buttons, supports trackpad gestures, and is comfortable to use. It’s a wireless mouse; pick between Bluetooth or 2.4GHz radio frequency to connect.
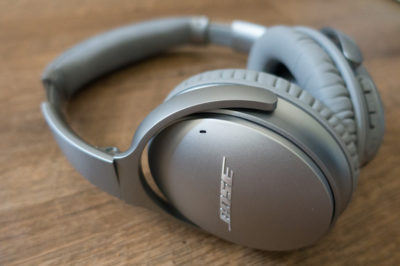
A good pair of noise-cancelling headphones is a must—something to block out roommates (If you have them) or excess library/coffee shop sounds as you’re cranking out your midterm paper. Bose’s QuietComfort 35 ($349.95 MSRP, same price onAmazon) is a pricey pair, but worth it—they’re wireless, so they won’t get in the way as you’re moving about. There’s no way to disable the noise-cancelling feature, but that’s okay—they run for 20 hours on a single charge. While the audio quality varies, the noise-cancelling feature is second to none.
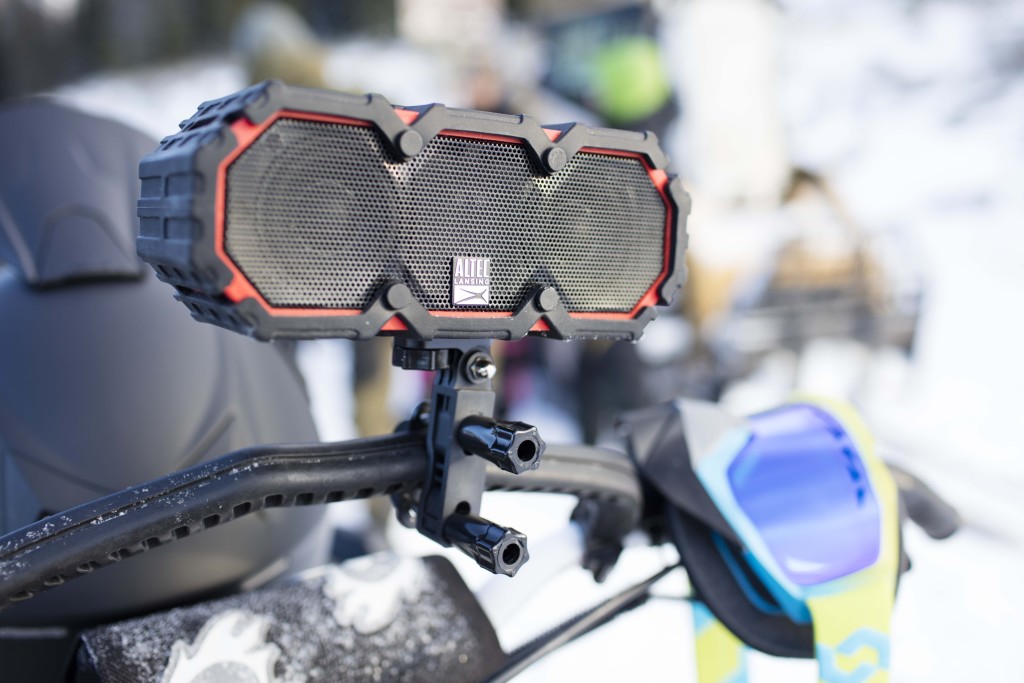
You’ll want a great-sounding Bluetooth speaker, but one that’s easy to schlep around from party to party, and one that won’t die if it gets into an accident with a red cup.Altec Lansing’s Mini Life Jacket 3 ($100 MSRP, same price on Best Buy) has a rugged exterior that’s also waterproof—it can survive a dunk for up to 30 minutes—so it’s up for the challenge. We were impressed with its good fidelity and sound quality, and loved that it comes with a hardware kit for you to mount the speaker on your bike as you cruise around campus. And at $100, it’s priced for students, too.
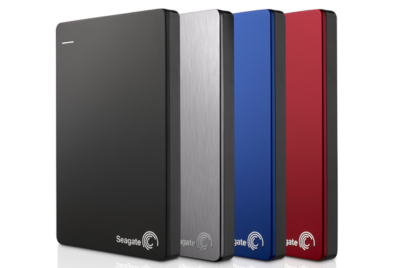
A hard drive may not be the most exciting thing on our list, but it’s the most practical—you’ll need something to back up your hard work just in case your laptop crashes.Seagate’s Backup Plus Slim Portable ($50 to $90 MSRP, same price on Amazon) will do just that. It’s compact, comes in a variety of capacities, and is available in four different colors and finishes.

A smartwatch or fitness tracker is a must-have for maintaining your work-study balance. If you’re looking for a device that handles your push notifications, reminders, and more, then go with an all-around smartwatch that’s an extension of your phone. For iPhone users, that’s easy—go with the Apple Watch ($299 MSRP and up, available at the Apple Store). For Android users, we like the Huawei Watch ($350 MSRP and up, $299 and up on Amazon) for its style, features, and customizable options.
If it’s just the fitness stuff you’re after, you can’t go wrong with the Fitbit Alta ($129.95 MSRP, $119 on Amazon). This sleek activity tracker monitors your workouts, steps, and sleep automatically, and pairs it all within the Fitbit app on your phone (it’s compatible with both iOS and Android phones) so that you can keep an eye on your habits. Reminding yourself to stay active in between study sessions has never been so easy.
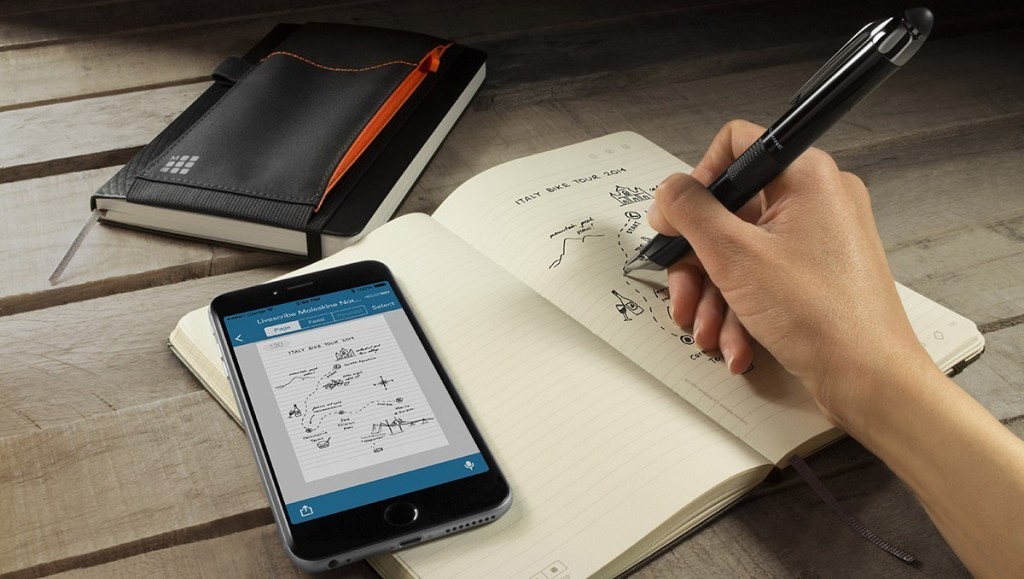
Spend one lecture with the Livescribe 3 Smartpen ($150 MSRP, $138.84 on Amazon) and corresponding app for your smartphone, and you’ll never want to go back to a regular old Bic. As you write in the Livescribe’s specialty notebooks, the smartpen sends a digital copy of your hand-written notes to your phone via Bluetooth, so you can access them at any time. It can also record audio notes through the Livescribe app on your smartphone, which get linked to your hand-written notes. When reviewing notes later, tap any word to hear what your professor was saying at that moment. If you’ve left yourself a doodle, abbreviation, or mnemonic device, tapping that word will bring you right back to the lecture. The pen itself can last 14 hours on a single charge.
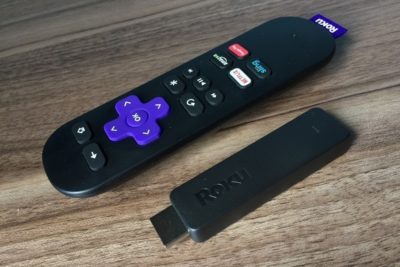
Your dorm may include a cable hookup for your TV, but it won’t play well with your Netflix subscription. The solution? Roku’s Streaming Stick ($50 MSRP, $39.01 onAmazon) a thumb-sized device that plugs into your TV or monitor’s HDMI port that streams web-based content—Netflix, Hulu, HBO Now, and more. It’s fast, has a dedicated remote, and is compatible with most of the major streaming content players.
Some school days, you never know what kind of gear you’ll need. Will your smartphone make it through the day without needing a recharge? Will you want to snap a picture of something being presented during lecture? What if you need to quickly transfer a file to a classmate?
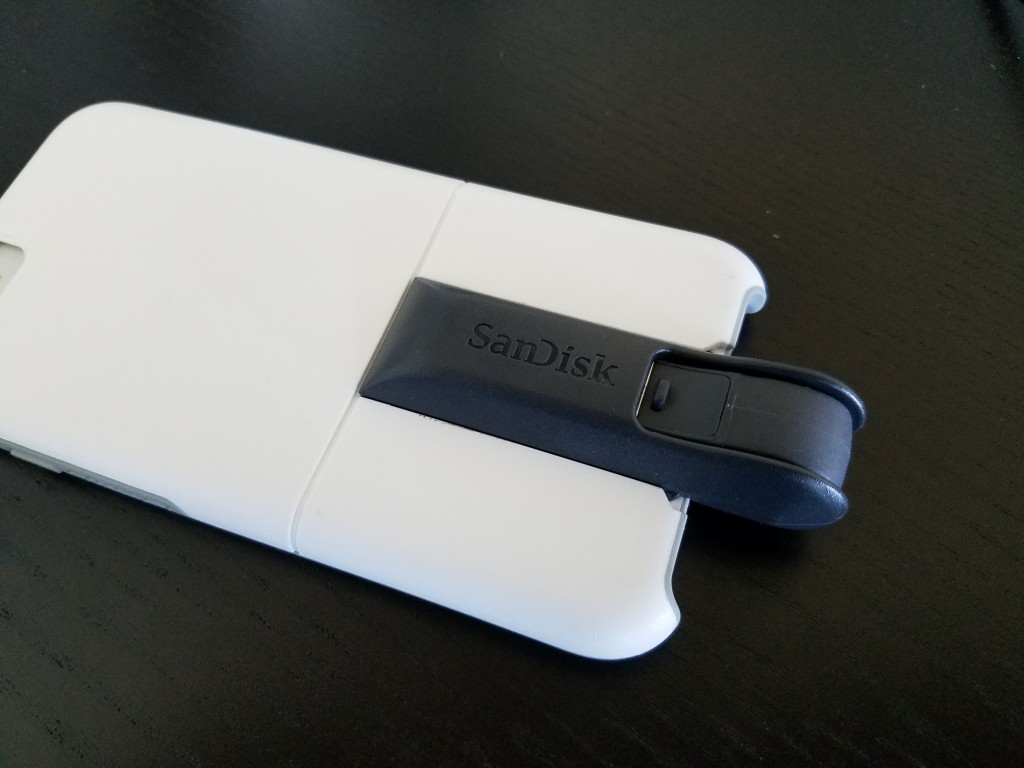
OtterBox’s Universe Case System ($49.95 MSRP for the base, modules are extra; $44.95 on Amazon) has extra add-ons that can help you do all of those things. This system consists of various accessory modules that you can attach to your iPhone via its protective case—so you can snap on a battery pack ($50 on Amazon), a flash drive (64GB for $60 on Amazon), a tripod ($30 on Amazon), and more in a pinch.
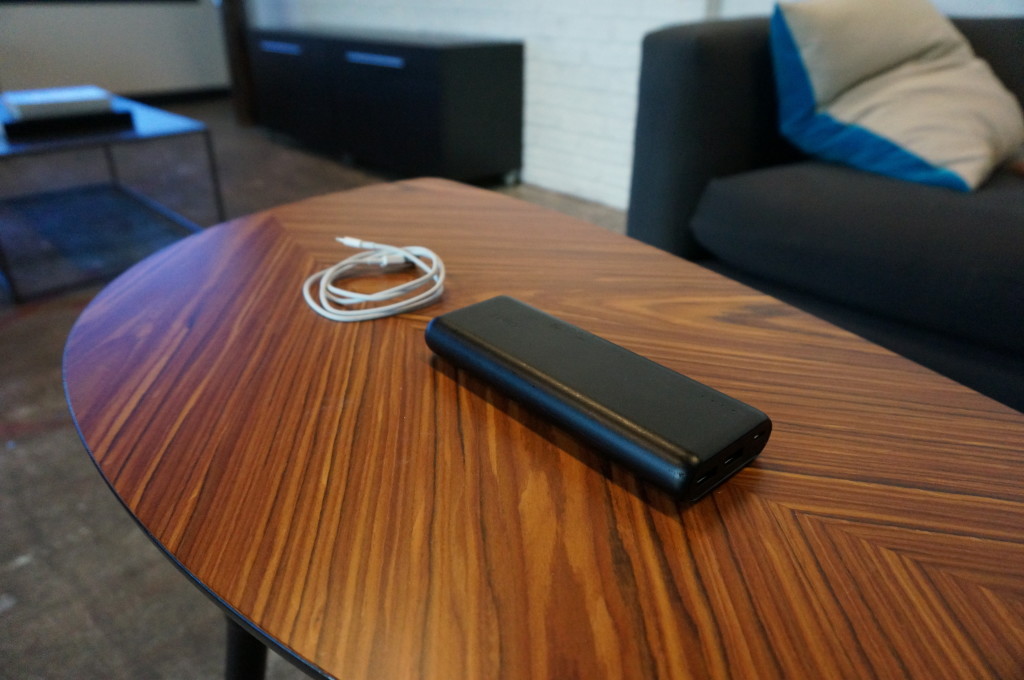
A one-device battery pack might not cut it—you may want a dedicated battery pack for a long school day, to power up your tablet or other gear besides your phone. Anker’s PowerCore 20100 ($80 MSRP, $43 on Amazon) is small, light, and powerful, with two USB ports to charge two devices at once. Its whopping 20,000mAh battery can charge your phone seven times, or your iPad mini (or other small tablet) twice.
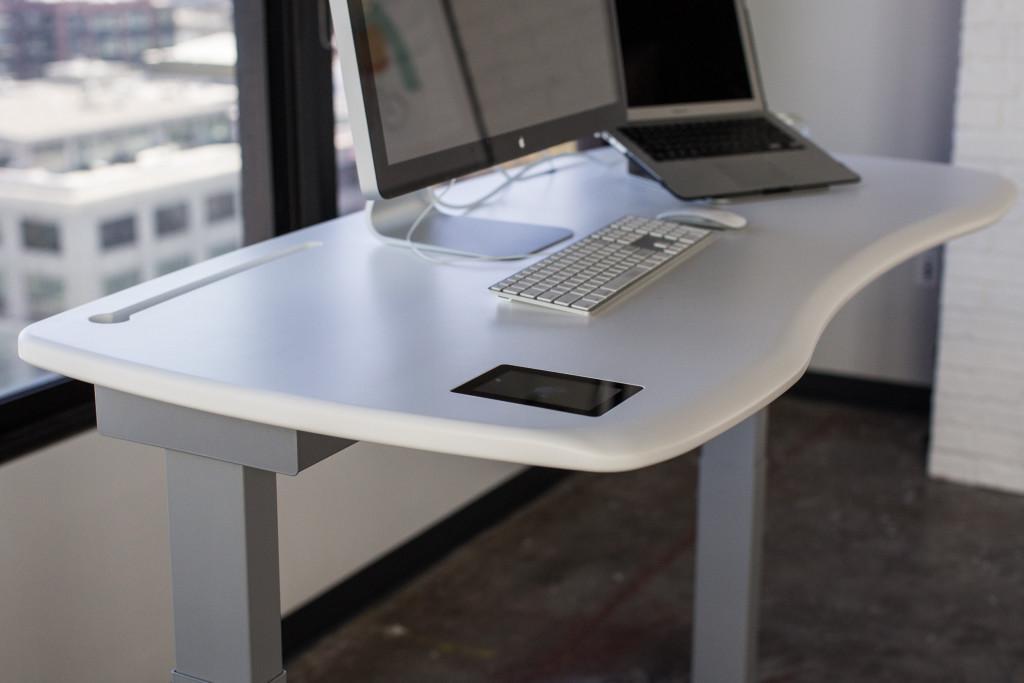
Standing desks are still having a moment in the health-tech spotlight, so if you’re considering a splurge on a new desk setup, dream big with Stir’s Kinetic Desk M1 ($2,990 MSRP, same price on Amazon). This smart desk is a well-built, comfortable workstation that smoothly adjusts between sitting and standing positions set to your preferences. You can tell the desk how often you’d like to stand up, and it will gently “nudge” you into your standing position by slightly raising up to coax you to move. The future is here, and this desk is proof.
Don’t have an extra $3,000 lying around? Grovemade’s Desk Collection (pictured in first slide) will keep your desk organized—and make it look like a million bucks for a fraction of the cost.
Have questions?
Get answers from Microsofts Cloud Solutions Partner!
Call us at: 856-745-9990 or visit: https://southjerseytechies.net/
South Jersey Techies, LL C is a full Managed Web and Technology Services Company providing IT Services, Website Design Services, Server Support, Network Consulting, Internet Phones, Cloud Solutions Provider and much more. Contact for More Information.
To read this article in its entirety click here.