Looking at upgrading your business PCs to Windows 10 but not sure when to make the leap? Here are some issues to consider.
Business customers can often be years behind the state of the operating system art: right now most businesses are still running Windows 7, launched back in July 2009, having shown limited interest in Windows 8 which arrived in August 2012.
Even when they buy new PCs, most companies today still downgrade them to Windows 7, so it’s usually home users that are first to take the plunge with the new software, whether they like it or not.
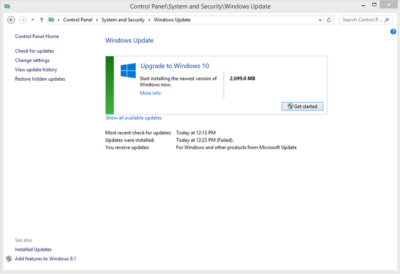
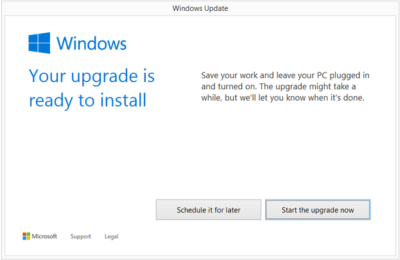
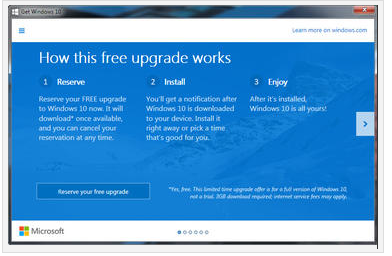
However, businesses may be significantly faster to adopt Windows 10, which arrives on 29 July (volume licensing customers will be able to download Windows 10 Enterprise and Windows 10 Education on Volume Licensing Service Center from 1 August) than previous versions of Microsoft’s operating system.
Part of the reason for the change is the huge public testing process – five million testers strong – that has preceded the arrival of Windows 10. As a result, the standard policy of waiting for the first service pack to arrive before rolling out a new OS is now longer the right one, says Stephen Kleynhans, research vice president at analyst Gartner.
However, that doesn’t mean firms should be full steam ahead with upgrades. “I’m not one who believes there is a need to rush to a new operating system. You want to let the ecosystem around the operating system mature a little bit before you jump right in,” he says.
Companies should wait until it’s clear if the line of business applications they use work happily with Windows 10, and whether they can find enough expertise to make sure any rollout is a smooth one. “All of that has to build up before you want to jump in and start running it in your production environment,” he said.
Kleynhans said businesses need to spend some time testing out Windows 10 in a controlled fashion: “Bring it into a lab, bring it into a test environment, let some folks run it for the rest of this year. Then, in 2016, get serious about it, start looking at it in a real test environment, start piloting it with some real users to see how it’s performing.”
He said that if all goes well companies should be ready to start deployments in the second half of 2016 or the beginning of 2017, depending on how large and complex their IT environment is.
“If you’re a large company nothing happens really fast. If you’re a small company the timeline is going to be a lot faster – if you’re testing with 10 people you might be testing with ten percent of the company.”
Starting the rollout a year to 18 months after the operating system is launched might seem like a long delay, but it would still be six months to a year faster than with previous upgrades.
Kleynhans said that it took most big companies 18 months of testing and remediation work before they were able to start rolling out Windows 7. In contrast, most companies will get Windows 10 testing and remediation done in less than six months.
The analyst said that some organizations are keen to get moving as soon as Windows 10 is available – such as those that are still using Windows XP or who have plans to deploy hybrid PC devices. But, for most companies, this will be too soon.
“There are pieces of the operating system targeted at the enterprise that we really haven’t had a chance to try out yet. You can’t consider significant production rollouts even in the most aggressive cases until later in the fall.”
He cited Windows Update for Business as a new tool that small and medium sized businesses will want to use, but that wasn’t part of the tech preview. There are also some other security components that haven’t been as broadly tested or available during the tech preview, he said.
As Ed Bott notes over at Tech Pro Research, other missing features will include the new unified sync client for OneDrive (the consumer cloud storage service) and OneDrive for Business (the cloud storage service for business Office 365 subscriptions). He predicts these will be wrapped up by late October, in time for Windows 10 PCs to hit the retail channel for the festive season.
Other factors to consider: at a prosaic level, the upgrade will inevitably cause disruption so don’t plan it for a busy time of year. If you’re in retail, starting the upgrade in November or December might be a career limiting decision for the CIO.
The state of your current infrastructure is another element to take into account. Gartner says that companies planning Windows 8.1 deployments should instead redirect their efforts toward earlier deployment of Windows 10.
“In almost all cases, enterprises currently planning to deploy Windows 8.1 should switch to Windows 10. Enterprises that already have Windows 8.1 deployed should continue with those deployments for the time being. Customers on Windows 7 with no plans for Windows 8.1 should begin evaluating Windows 10 for deployment in 2H16 or later,” the analyst firm said in a research note.
Equally, for some, the upgrade may never take place. David Gewirtz has no plans to upgrade any of his Windows 7 devices to Windows 10: “They work, they’re rock solid, and all their drivers are perfectly tuned to the hardware they’re running on,” he notes.
However long it takes enterprises to take the plunge, Windows 10 is likely to become widely adopted, if only because most firms will need to move off of Windows 7 eventually, while the relatively few who did move to Windows 8 will also update sooner rather than later. The pressures that forced companies to migrate off Windows XP and onto Windows 7 will eventually make them move from Windows 7 to Windows 10.
“Windows 7 comes to end of life in January 2020. That’s only four and half years away so you’re going to see the same sorts of pressures mount to get off of Windows 7. They need to go somewhere and they’ll go to Windows 10,” he said.
Have questions?
Get help from IT Experts/Microsofts Cloud Solutions Partner
Call us at: 856-745-9990 or visit: https://southjerseytechies.net/
South Jersey Techies, LLC is a full Managed Web and Technology Services Company providing IT Services, Website Design Services, Server Support, Network Consulting, Internet Phones, Cloud Solutions Provider and much more. Contact for More Information.
To read this article in its entirety click here.