Manual Setup
Step 1
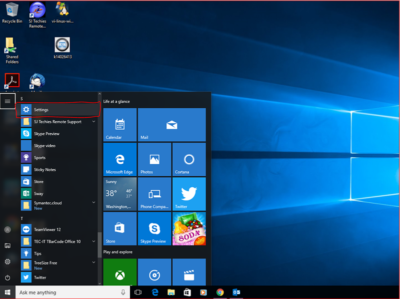
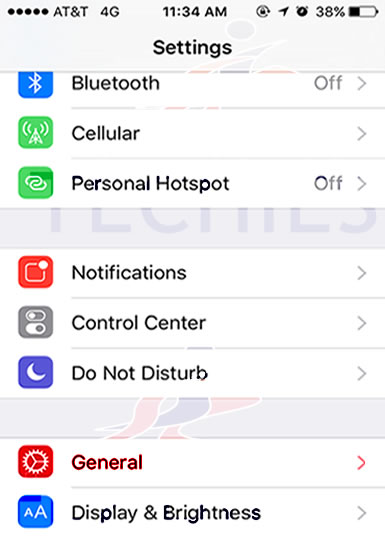
Start from the home screen. Go to “Settings“.

Step 2
Go to “General“.
Step 3
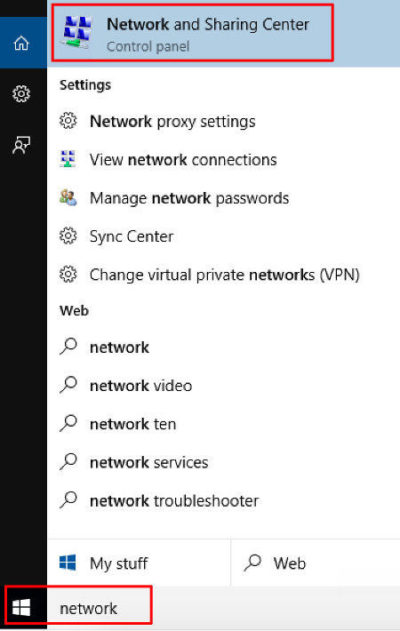
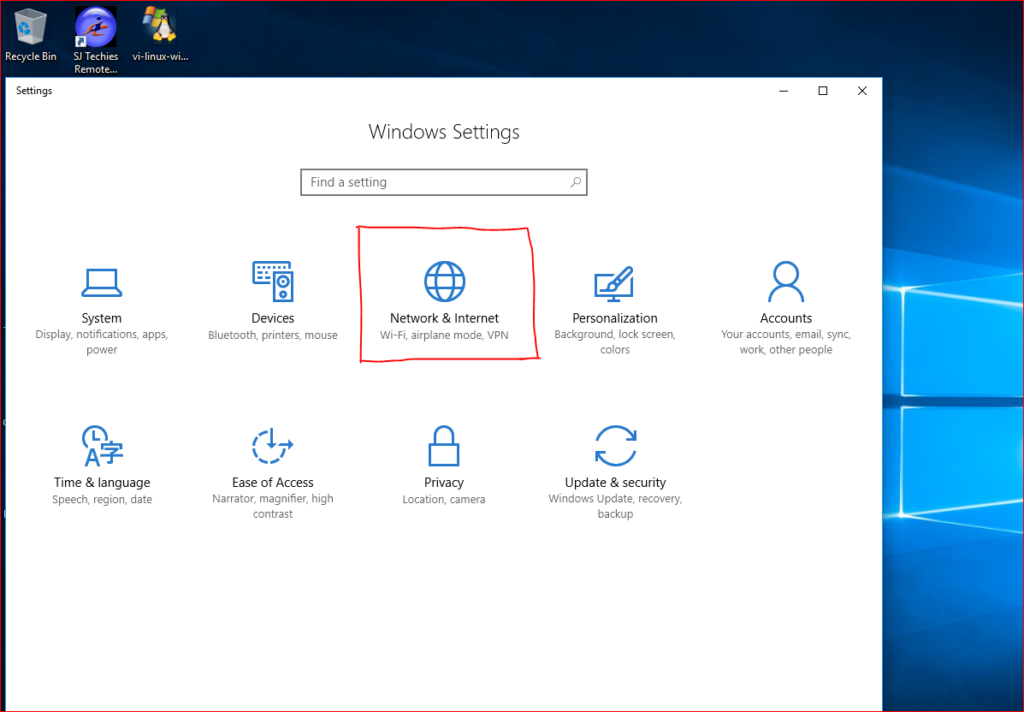
Then proceed to “VPN“. You may need to scroll down to find it.
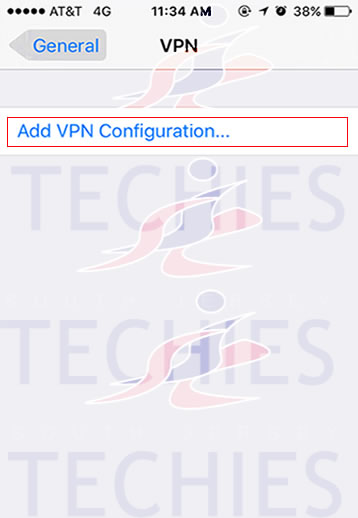
Step 4
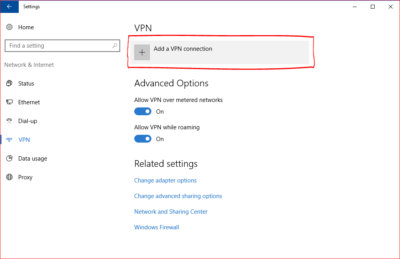
Tap on “Add VPN Configuration…“.
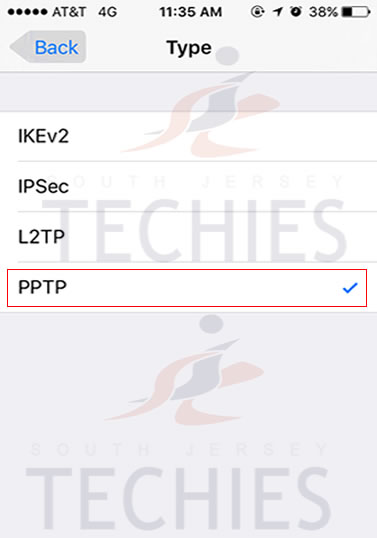
Step 5
Tap on “Type“.

Step 6
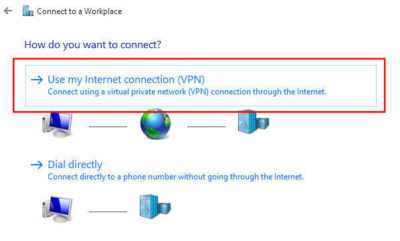
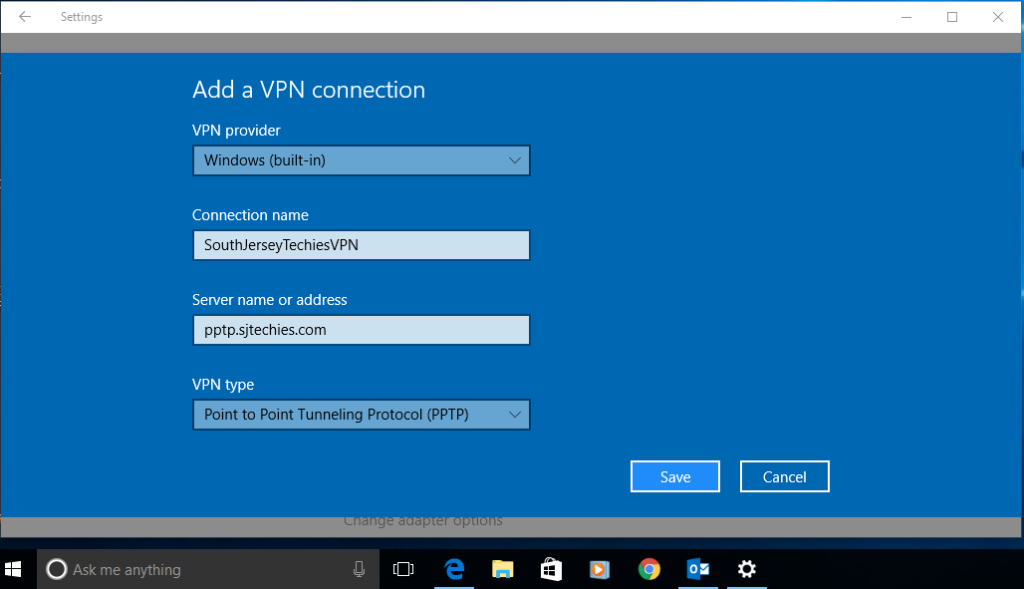
Select “PPTP” by tapping on it.
Step 7
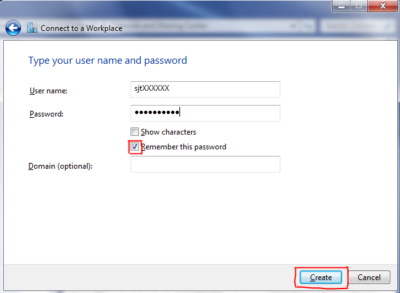
“Description” is the name of the connection, can be any as you like, we recommend StrongVPN.
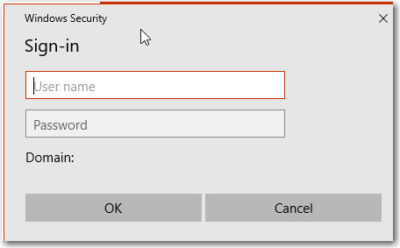
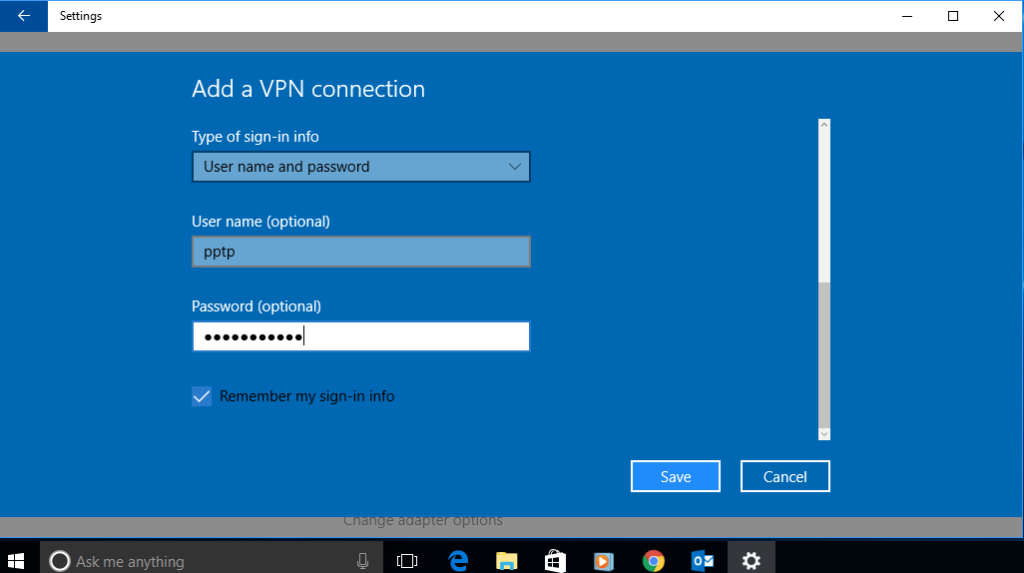
Fill the “Server“, “Account” and “Password” fields.
“Server” is your server address. It is not remote.sjtechies.com, that is just an example.
“Account” and “Password”. Account is neither Test\jsmith nor your email.
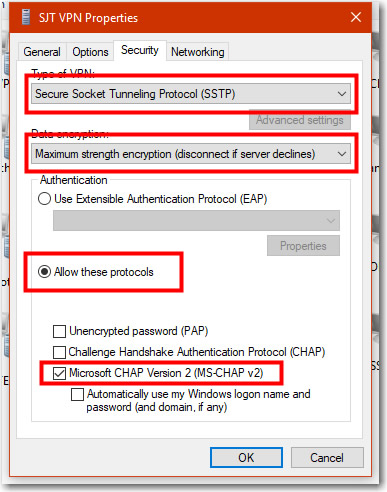
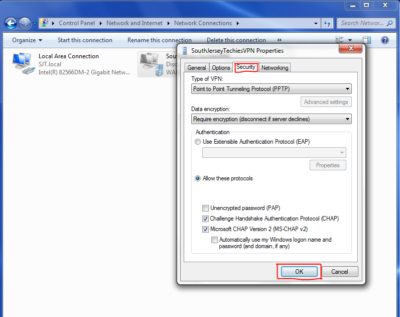
“Encryption Level” option must be set to “Auto“. “Send All Traffic” should be “ON“.
When the fields are filled up correctly, tap “Done“.

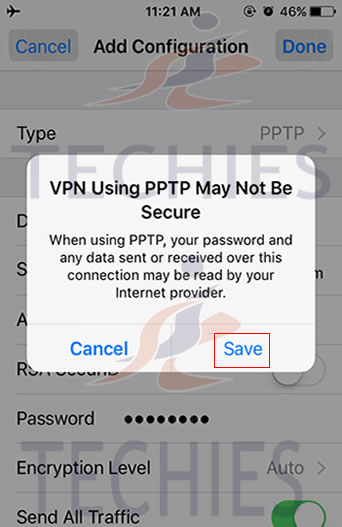
Step 8
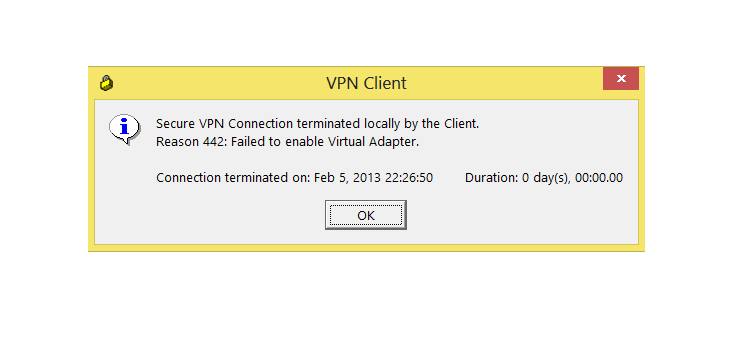
It will give you the warning about using the PPTP connection, which has some downsides.
Tap Save button. (Hint: If you want stronger encryption just use L2TP.)
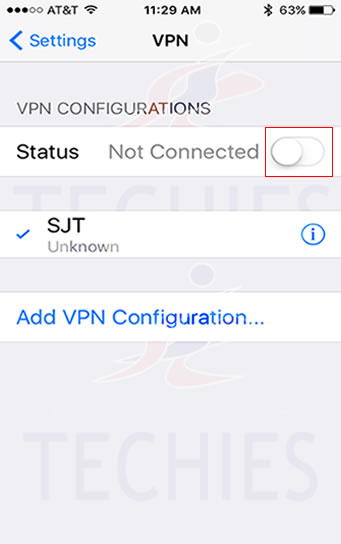
Step 9
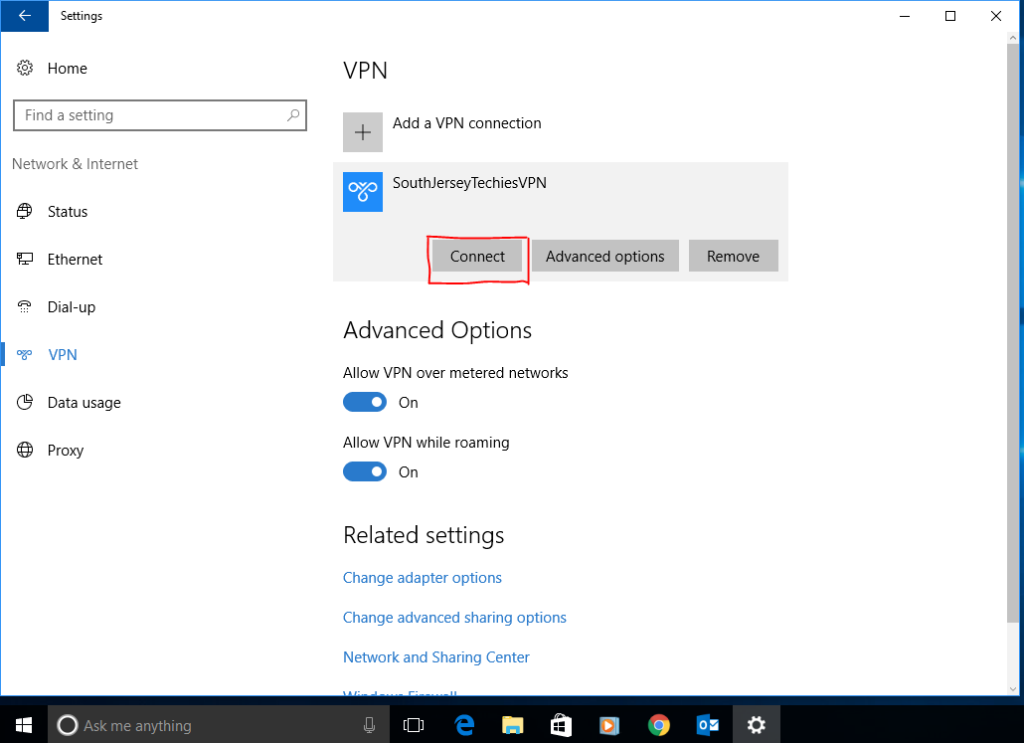
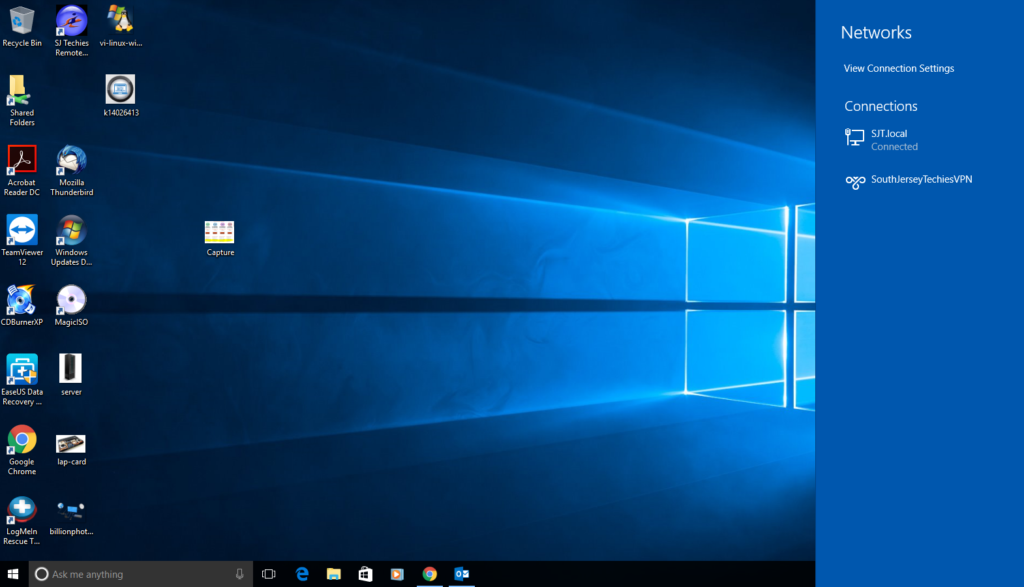
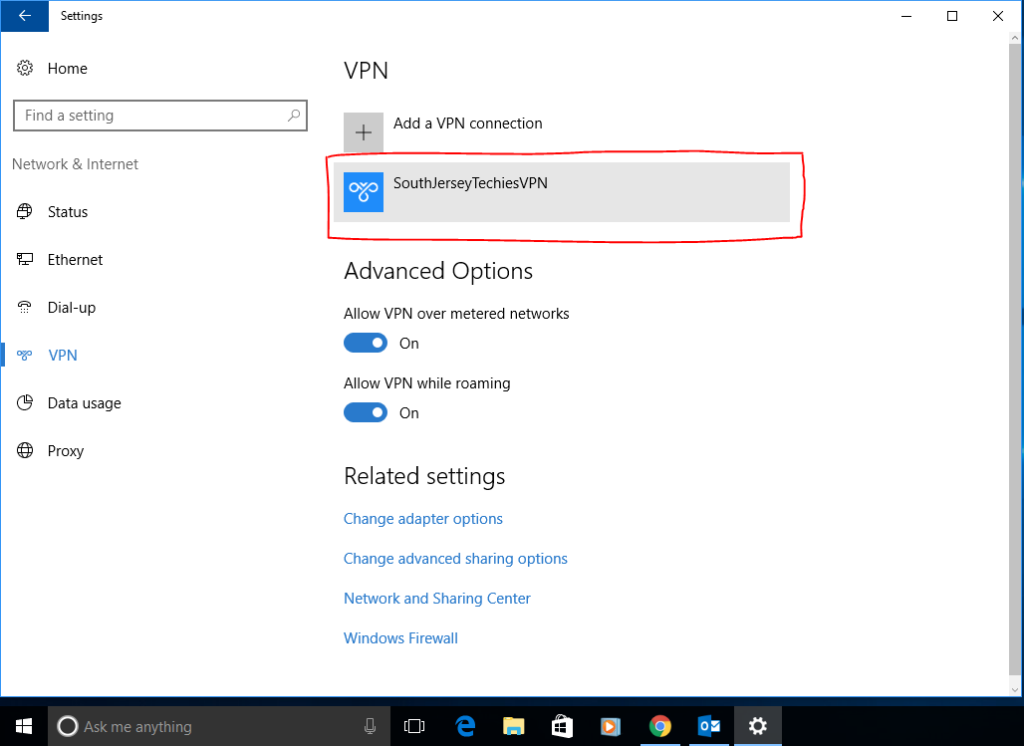
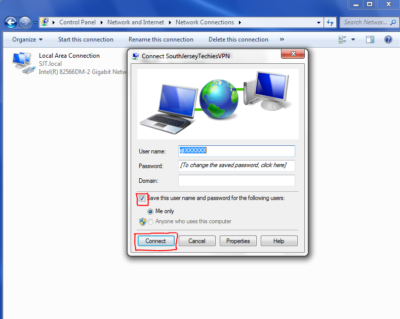
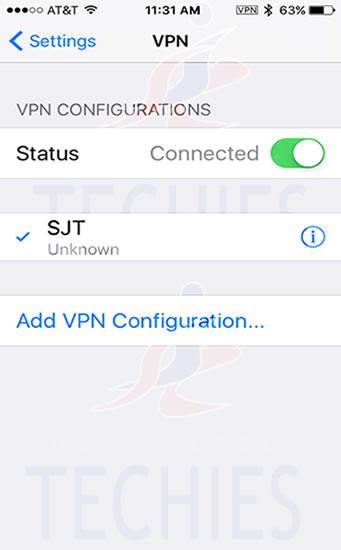
Now connect by tapping the switch button to the right of VPN Status.
(If you have more than one VPN configuration listed, the one with a check next to it will be connected. You can tap on a vpn configuration name to select it, or tap on the ‘i’ to the right of the name if you need to update the settings.)
Step 10
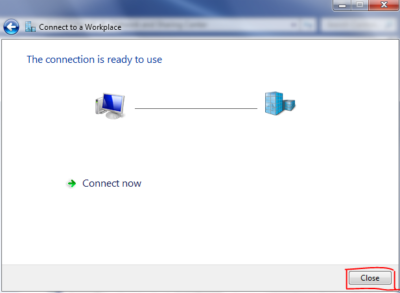
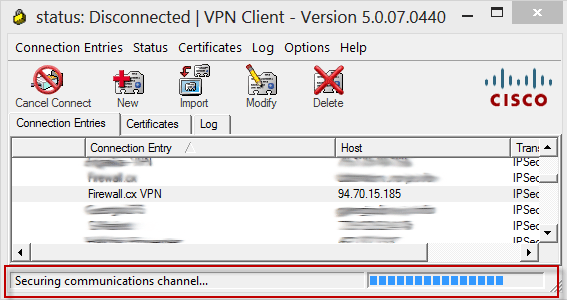
It will show you “Connecting…” status, wait while it connects.
When the VPN connection is established the status will be “Connected“. Also notice the “VPN” badge on the top bar.
Step 11
To check if your IP address is changed successfully open the Safari browser and proceed to http://strongvpn.com/.
Have questions?
Get help from IT Experts/Microsofts Cloud Solutions Partner
Call us at: 856-745-9990 or visit: https://southjerseytechies.net/
South Jersey Techies, LLC is a full Managed Web and Technology Services Company providing IT Services, Website Design Services, Server Support, Network Consulting, Internet Phones, Cloud Solutions Provider and much more. Contact for More Information.
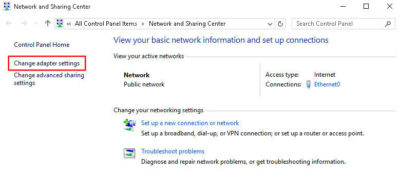
To read this article in its entirety click here.