Takeaway: This great quick Microsoft Word Document trick will have you filling in scanned paper forms in just seconds.
Word allows you to fill out scanned paper forms. A quick easy trick renders most paper forms into an electronic file and isn’t a perfect solution, but works when you are in a jam.
First, scan the form and save it as a graphics file. Be sure to save the scanned form in a format that Word can use, such as jpg, png, or bmp.
Once you have the scanned document file, insert it as a picture as follows:
- In a blank document, open the header section. In Word 2007 and 2010, just double-click in the top margin area. In Word 2003, choose Header and Footer from the View menu.
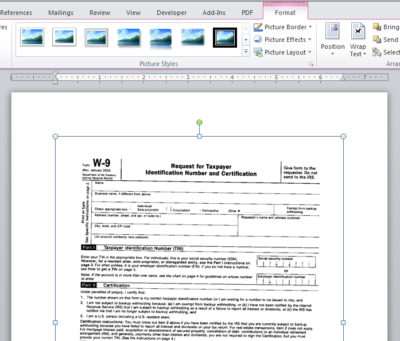
- With the header section open, click the Insert tab. Then, click Picture in the Illustrations group. In Word 2003, choose Picture from the Insert menu, and then choose From File. Browse to the file and double-click it or select it and click Insert.
- With the picture file selected, choose Behind Text from the Text Wrap dropdown in the Arrange group on the contextual Format tab. In Word 2003, right-click the picture, and choose Format Picture. Click the Layout tab, choose Behind Text, and click OK.
- Close the header section. Don’t worry if the graphic dims a bit.
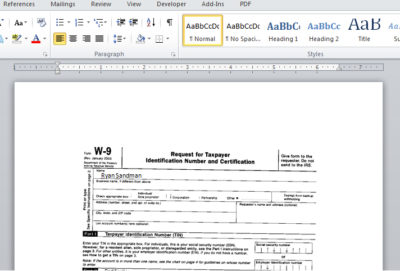
With the graphic in the header’s background, you can now type as you normally would, using the graphic as your guideline. There are no special controls or tabs to position the cursor for you. You can certainly go that route, but that takes a lot of work, and unless you’re going to reuse the form a lot, it’s probably not worth the effort.
Most likely, the form won’t align just right the first time you try. Simply open the header and adjust the position of the form as needed. You can also change the font, font size, and tab stops to accommodate the form’s fill-in positions.


