Take advantage of OneDrive Fetch:
When you create a Microsoft account, one of the best perks is that you also get OneDrive cloud storage at no additional cost. But a little-used feature called Fetch can get you even more than that.
Note: This does not apply to OneDrive for Business.
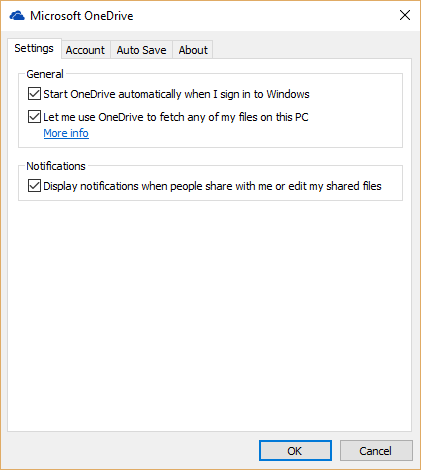
Right-click the OneDrive icon and navigate to Settings. On the next screen, click the Settings tab to get to the screen shown in Figure. Look for the checkbox called Let Me Use OneDrive To Fetch Any Of My Files On This PC. This will allow you to access any file on that PC from any computer using any browser simply by logging into your online version of OneDrive.
Figure
Have questions?
For More Tips & Info from Microsofts Cloud Solutions Partner!
Call us at: 856-745-9990 or visit: https://southjerseytechies.net/
South Jersey Techies, LL C is a full Managed Web and Technology Services Company providing IT Services, Website Design Services, Server Support, Network Consulting, Internet Phones, Cloud Solutions Provider and much more. Contact for More Information.